
AI for Industrial Design
Midjourney | Stable Diffusion | Vizcom Workflow
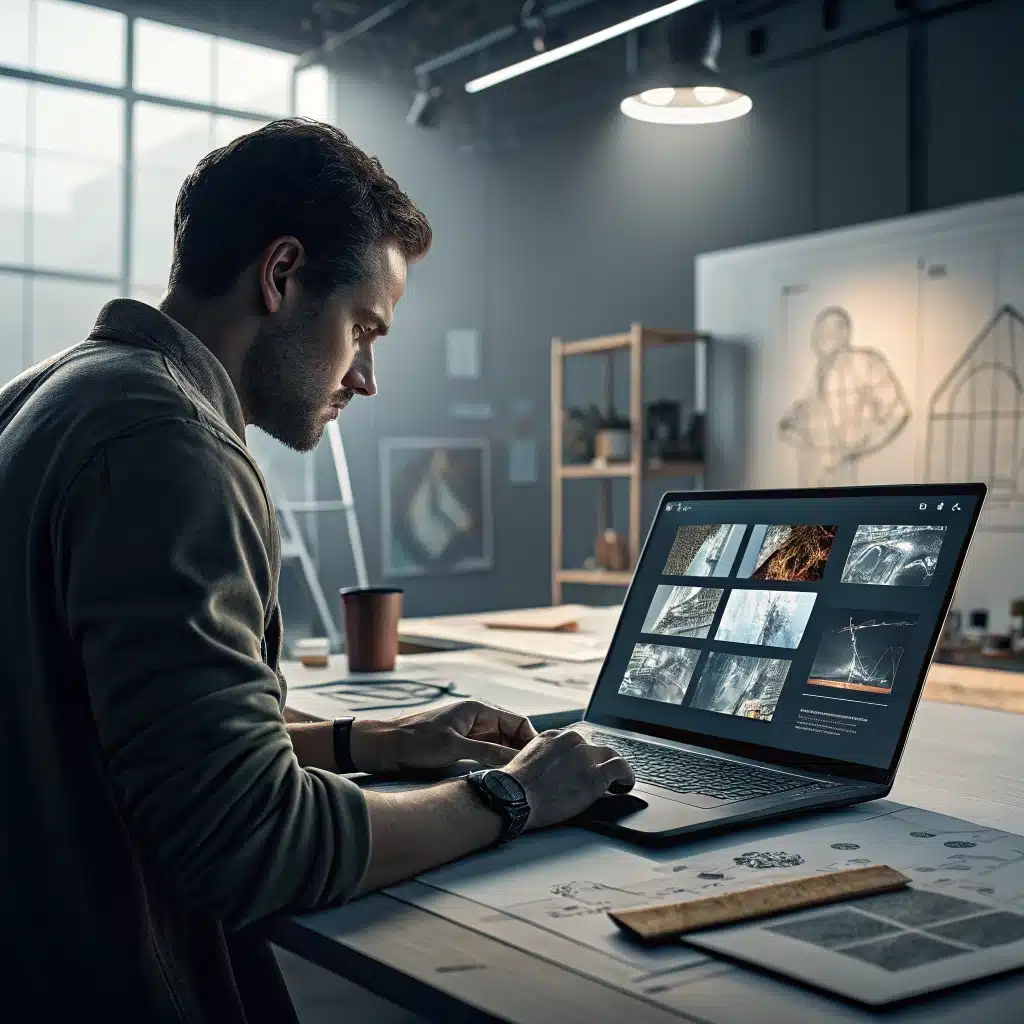
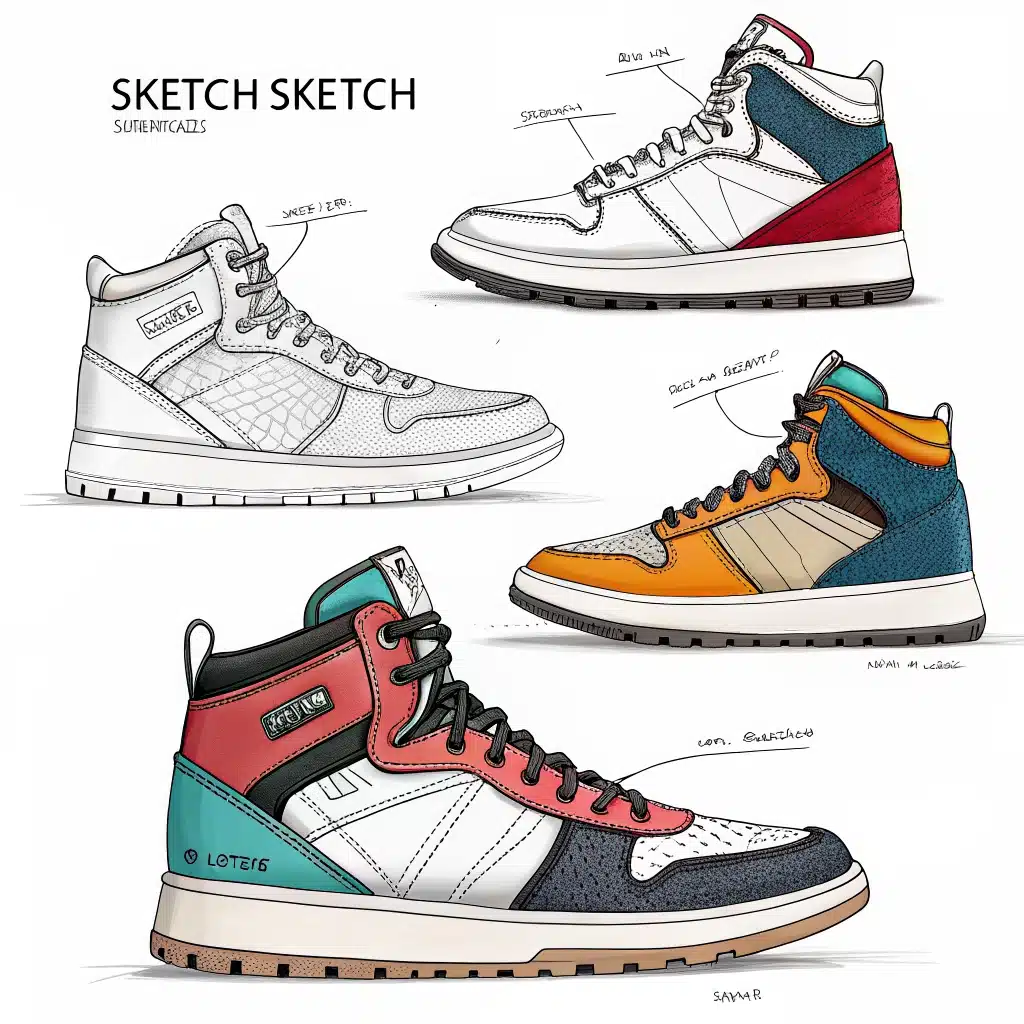
AI can help industrial designers move faster—especially for concept visuals and early ideation. The best workflow is simple: use AI to generate options, pick the best directions, then turn them into real design work (CAD, proportions, materials, and constraints).
Why AI belongs in your industrial design process
AI image tools are great at one thing: making lots of visual options quickly. That makes them useful in the “explore” phase where you should not be stuck polishing one idea too early.
You still stay in charge of the design logic. AI visuals help you choose directions faster, not replace engineering judgment.
The fastest workflow (step-by-step)
Use this workflow to get results you can actually build.
- Start with a clear goal. Decide what you need today: style ideas, shape variations, or a cleaner conceptrender.
- Pick the right tool for the job.
- Use Midjourney for fast, high-quality concept visuals from prompts or references.
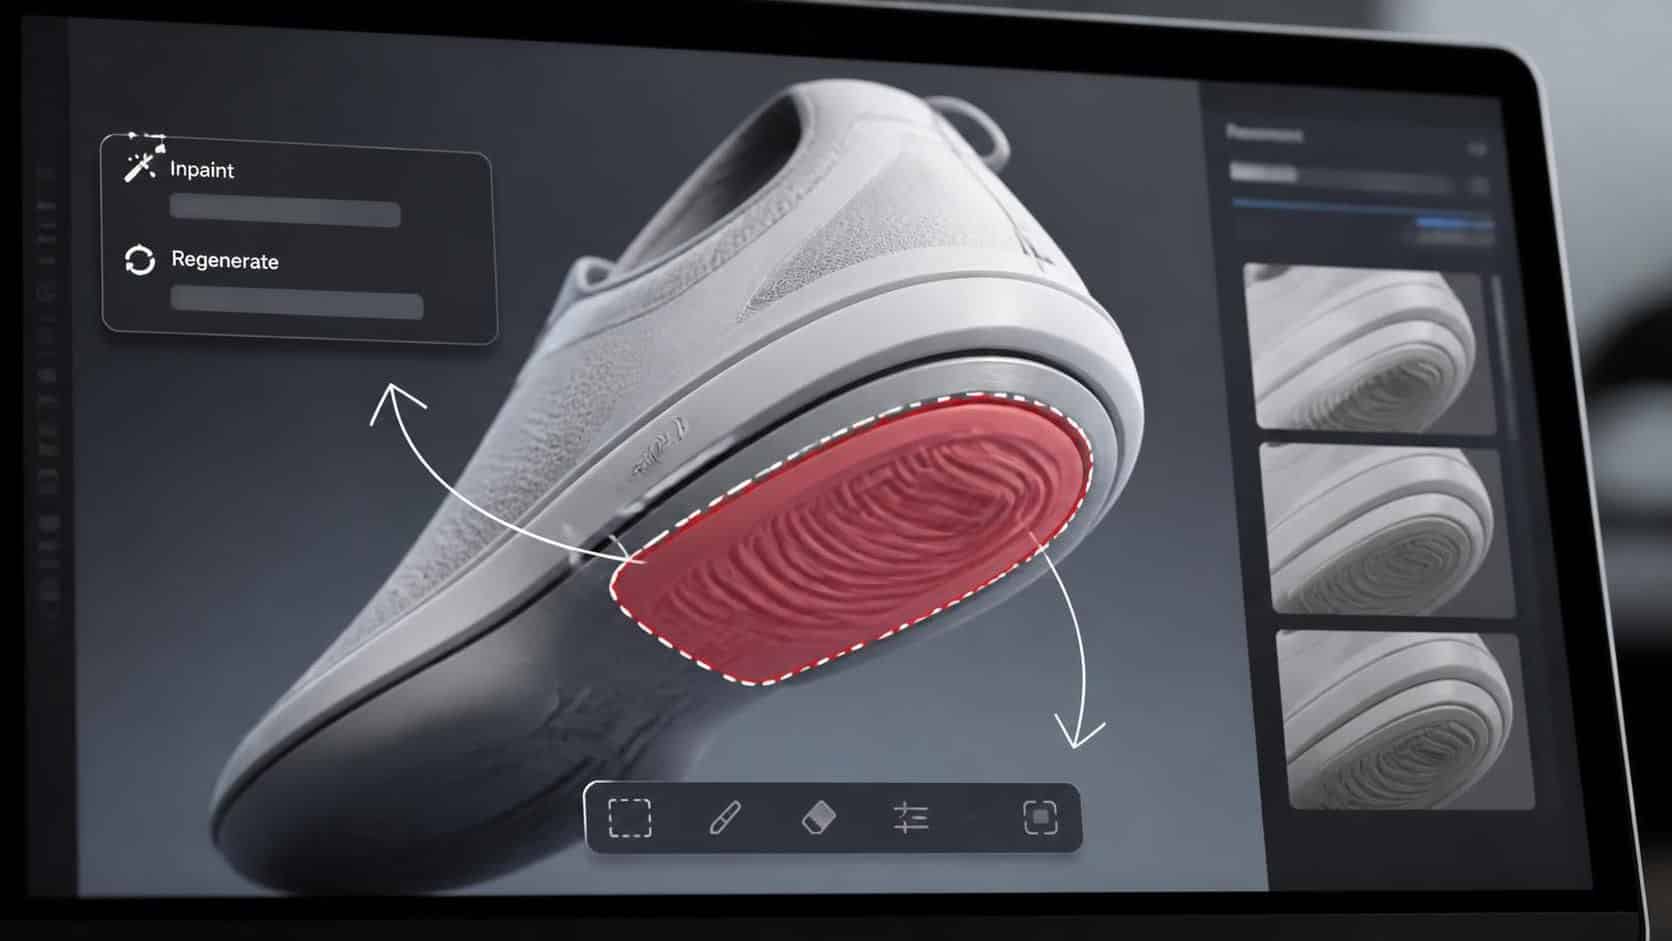
- Use Stable Diffusion when you want more control with image reference strength and inpainting.
- Use Vizcom when you want to “upgrade” a sketch into a more finished look.
- Write one strong prompt. Include the product type, view angle, materials, and lighting style.
- Generate 10–30 options quickly. Save the best 3 directions, not every image.
- Iterate with references.
- Midjourney: try image-to-image inspiration from a sketch or rough render.
- Stable Diffusion: adjust image strength and use inpainting for parts like soles, grips, or panels.
- Vizcom: draw, prompt, then draw over what you want to change.
- Pick a direction and rebuild it. Translate the chosen look into producible design outputs like sketches forCAD, dimension targets, and material notes.
If you keep this loop, you’ll avoid the common trap of making pretty images that don’t move your project forward.
Midjourney: best for bold concept directions
Midjourney is strong when you want creative, presentation-ready visuals quickly. It’s also useful when you have a rough concept and want variations that still feel connected to it.
A solid use case is generating multiple “design language” options, like:
- different material finishes (matte, brushed, glossy)
- different product styling (classic vs futuristic)
- different lighting setups for presentation
Reference tip: use your sketch or mood image as the input, then ask for “orthographic render” or “studio product lighting” so results match industrial design presentation style.
Helpful reference:
- Midjourney app: https://www.midjourney.com/app/
Stable Diffusion: best for controlled reference + part changes
Stable Diffusion works well when you want to steer the output. You can control how much the reference image influences the result.
That matters because industrial design is often about small changes:
- a new side cut
- a different handle curve
- a revised sole pattern
- a changed grille layout
Use inpainting when you want to fix one area instead of redoing the whole design. It’s great for iterating specific zones like the logo area, button layout, or a shoe upper section.
A credible starting point for understanding the system:
- Hugging Face Stable Diffusion documentation (background + tools): https://huggingface.co/docs
Vizcom.ai: best for sketch-to-finished concept visuals
Vizcom is useful when your input is not polished yet. You can draw something, add a prompt, and get a more filled-in visual.
This helps when you’re in the early stage and you need a stronger concept underlay for client or team review. You can also draw over the generated result to guide what comes next.
If you want to move from “rough thumbnail” to “shareable concept” fast, Vizcom can be a good shortcut.
Start here:
- Vizcom.ai: https://www.vizcom.ai/
What to prompt (simple prompt formula you can reuse)
Copy this formula and fill in the blanks:
- Product + style: “futuristic industrial design of a [product]”
- View: “three-quarter view” or “orthographic render”
- Materials: “matte black plastic, soft-touch rubber, brushed metal”
- Lighting: “studio lighting, clean background”
- Detail level: “high detail, realistic render”
Then add one goal line:
- “explore 3 shape variations”
- “keep the same silhouette, change only the grip”
- “iterate the sole geometry”
Conclusion: use AI to speed up exploration, then design for reality
AI can help you generate strong visual options fast and iterate without blank-page stress. But the final work still needs your design thinking—proportions, ergonomics, materials, and build constraints.
If you follow the workflow above, you’ll get visuals that actually support decisions.