
how do you make 3d model?
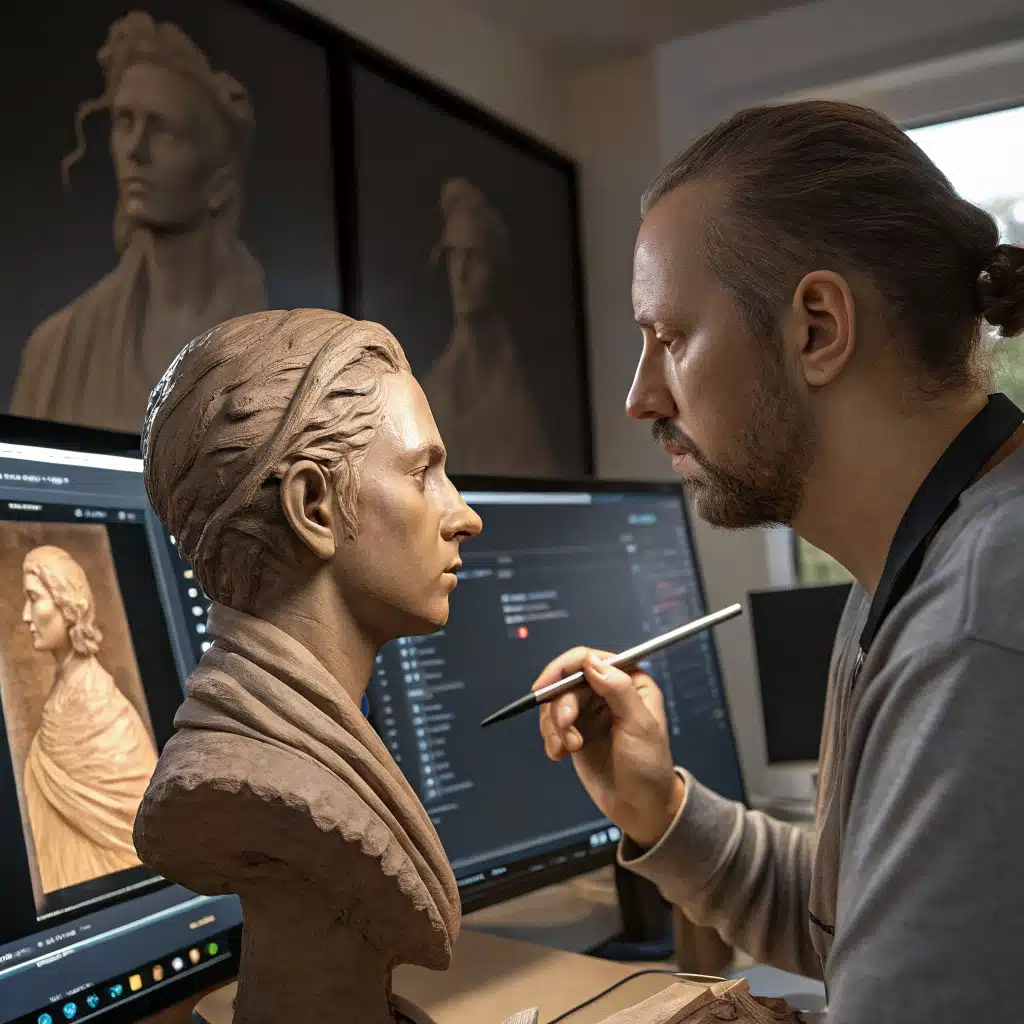
Creating a 3D model means turning an idea into a real digital object using 3D software, then checking it for accuracy before exporting it for 3D printing or manufacturing. The fastest way to get good results is to start simple, use reference images, and test your model early.
Step-by-Step Workflow to Create a 3D Model
Start with a clear target so you don’t waste time. If you know the use case (3D print, product prototype, game asset, or architectural visual), you’ll pick the right tools and settings faster.
1) Define your goal
Decide what the model will be used for and what “done” looks like. For example, printing needs solid geometry, while animation needs good topology.
2) Gather reference images and measurements
Collect photos, sketches, or dimensions from multiple angles. More references usually means fewer guesswork edits later.
Useful reference basics:
- Use front/side/top views when possible
- Record measurements like height, width, and key hole sizes
- Take notes on materials, colors, and surface details
If you’re new to this, see Blender’s guide to modeling workflows and learning paths: https://www.blender.org/support/
3) Choose the right 3D modeling software
Pick software based on your project type and comfort level:
- Beginner-friendly: Tinkercad (easy drag-and-drop)
- All-around: Blender (free, powerful, widely used)
- CAD and manufacturing: Fusion 360 or SolidWorks (great for precise parts)
- Mobile CAD: Shapr3D (strong for touch-friendly CAD)
A good starting point for CAD concepts and exports is Autodesk’s learning hub for Fusion 360: https://help.autodesk.com/
4) Create the basic shape
Start with simple forms like cubes, cylinders, and basic sketches. Build the “big picture” first, then refine details.
Think of it like blocking in a drawing:
- Get the main shape right
- Keep it rough but correct
- Avoid adding small details too early
5) Add details (the part that makes it look real)
Use tools like:
- Extrude to extend shapes
- Fillet/chamfer to add smooth edges
- Cut holes and slots for real features
- Curves and bevels for natural shapes
If you’re modeling for 3D printing, keep an eye on wall thickness and overhangs. A quick overview of 3D printing file needs (like STL) can help: https://www.3mf.org/stl/
6) Check dimensions and proportions
Measure your model to confirm it matches your plan. Compare key distances to your reference images and notes.
A simple habit:
- Measure before you add the final features
- Confirm scale before texturing or rendering
7) Test your design for errors
Before exporting, check for common problems like:
- Non-manifold geometry (surfaces that don’t form a closed shape)
- Thin walls that may break in printing
- Overlapping parts
- Missing faces
Blender has built-in mesh cleanup tools, and it’s one reason it’s popular for learning: https://docs.blender.org/
8) Apply materials (optional but helpful)
If you want realistic visuals, add:
- Colors
- Textures
- Lighting settings
- Simple surface roughness or bump detail
Even a basic material setup helps you spot shape issues in renders.
9) Render or animate (if needed)
Rendering creates high-quality images for sharing and presentations. Animation can help you show how parts move or how the product works.
10) Export the file in the right format
Export depends on your next step:
- 3D printing: STL is common, or 3MF for certain workflows
- Manufacturing/CAD exchange: STEP is widely used for precision parts
A simple file-format reference overview is here: https://en.wikipedia.org/wiki/STL_(file\_format)
Quick checklist before you export
Use this fast list to avoid rework:
- The model matches the target size
- Parts are connected (or properly separated) for your use
- No holes or thin walls in critical areas
- Surfaces are clean (no messy geometry_
- Export format matches your workflow (print vs manufacturing)
Where to get help faster (and move to prototyping)
If you want to speed up from concept to a real prototype, work with a 3D CAD/3D modeling service. A good workflow reduces back-and-forth and helps you avoid common mistakes that slow down physical prototyping.
For example, if you need CAD submission, review standards, or a smoother handoff to manufacturing, you’ll often get faster results by using a team that already knows the submission process. Look for a provider that clearly states export formats and how they handle fixes.