Understanding CAD Drawings for Successful Product Development
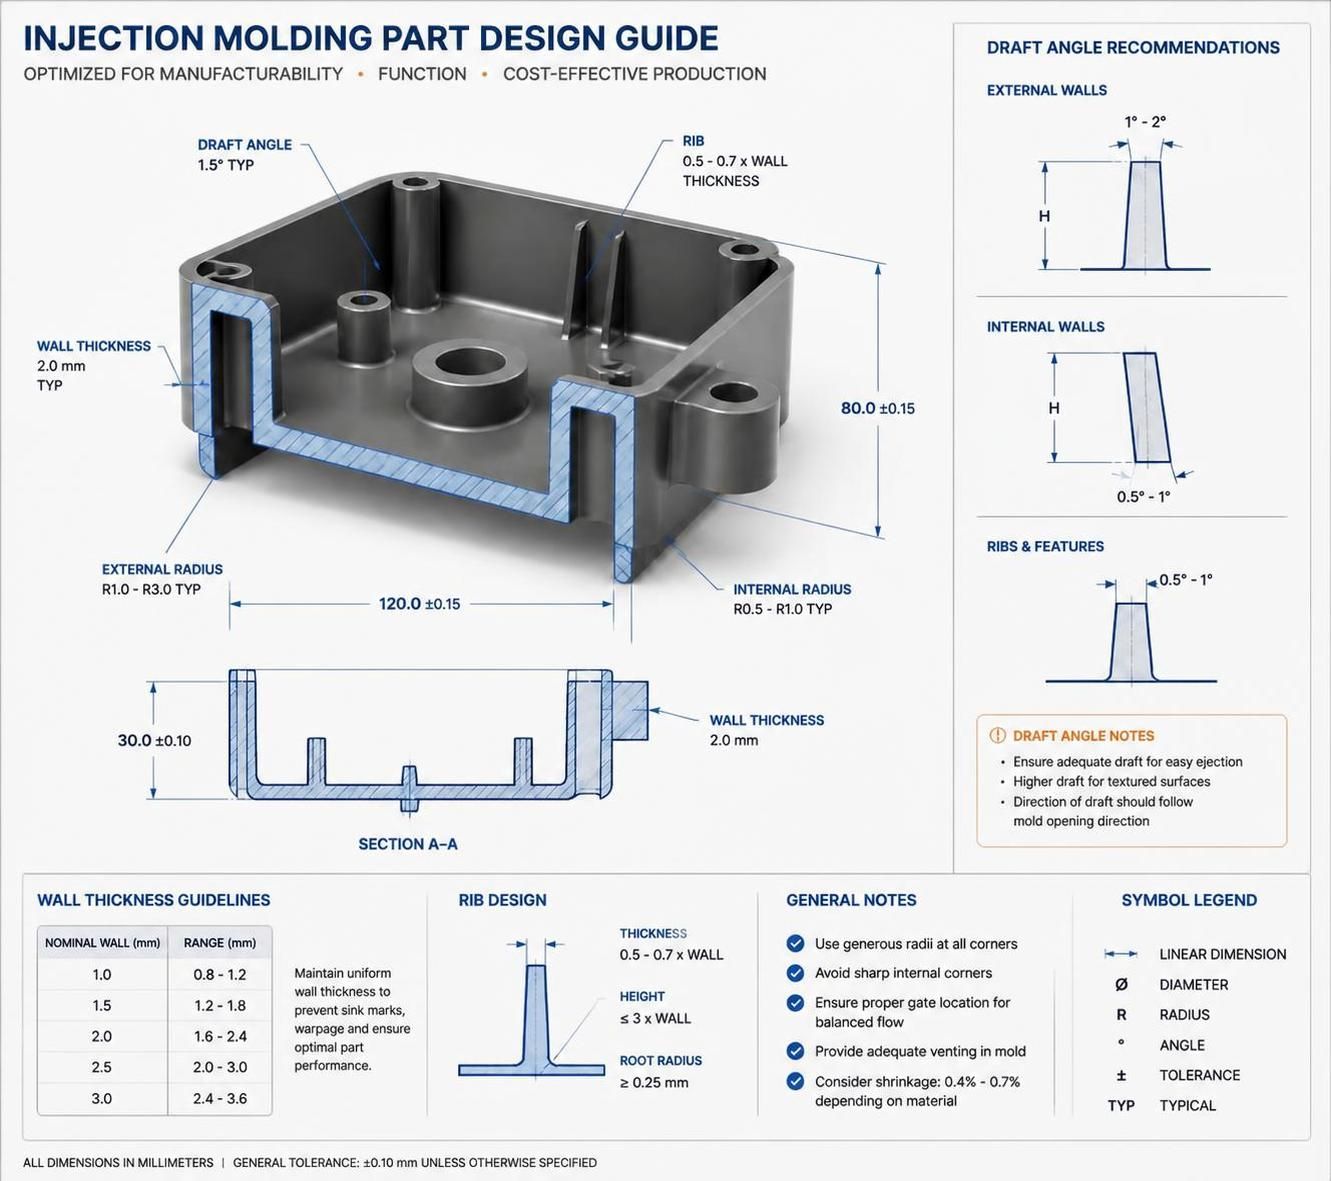
CAD drawings help turn product ideas into manufacturable parts faster and with fewer mistakes. If you want better results in product development, the key is to use CAD drawings for clear design, easy revision, and smart collaboration from the start. Advanced CAD drafting services give teams a precise way to plan parts, test fit, and catch problems before production. That matters in industries like automotive, aerospace, and consumer products, where small errors can become costly delays.
Why CAD Drawings Matter in Product Development
CAD drawings do more than show how a part looks. They show how it works, how it fits with other parts, and how it can be made efficiently.
With modern CAD drafting services, teams can build 2D and 3D models, adjust designs quickly, and share the same file across design and manufacturing teams. Autodesk explains how CAD supports accurate design and documentation in engineering workflows, while Dassault Systèmes highlights how 3D CAD improves collaboration and product performance.
Key Design Considerations for Injection Molded Parts
If your product will be injection molded, the CAD drawing must support the mold process. That means thinking about part geometry early.
Focus on these basics:
- Keep wall thickness as uniform as possible.
- Add draft angles, usually 1 to 3 degrees.
- Use smooth radii instead of sharp corners.
- Choose materials that match strength, cost, and finish goals.
- Account for shrinkage in the final part size.
These choices help reduce warping, improve part release, and lower the risk of defects during molding. Xometry and Protolabs both stress that mold-friendly design improves manufacturability and reduces production issues.
Step-by-Step Workflow for Better CAD Drawings
Use this simple process to keep product development moving:
- Define the product goal and main function.
- Sketch the shape and basic dimensions.
- Build a 3D CAD model.
- Add tolerances, draft, and material details.
- Review the design for moldability and fit.
- Test the concept with simulation or prototyping.
- Revise the drawing before tooling begins.
This workflow keeps the team aligned and reduces expensive rework later. It also makes it easier to move from concept to prototype to final production.
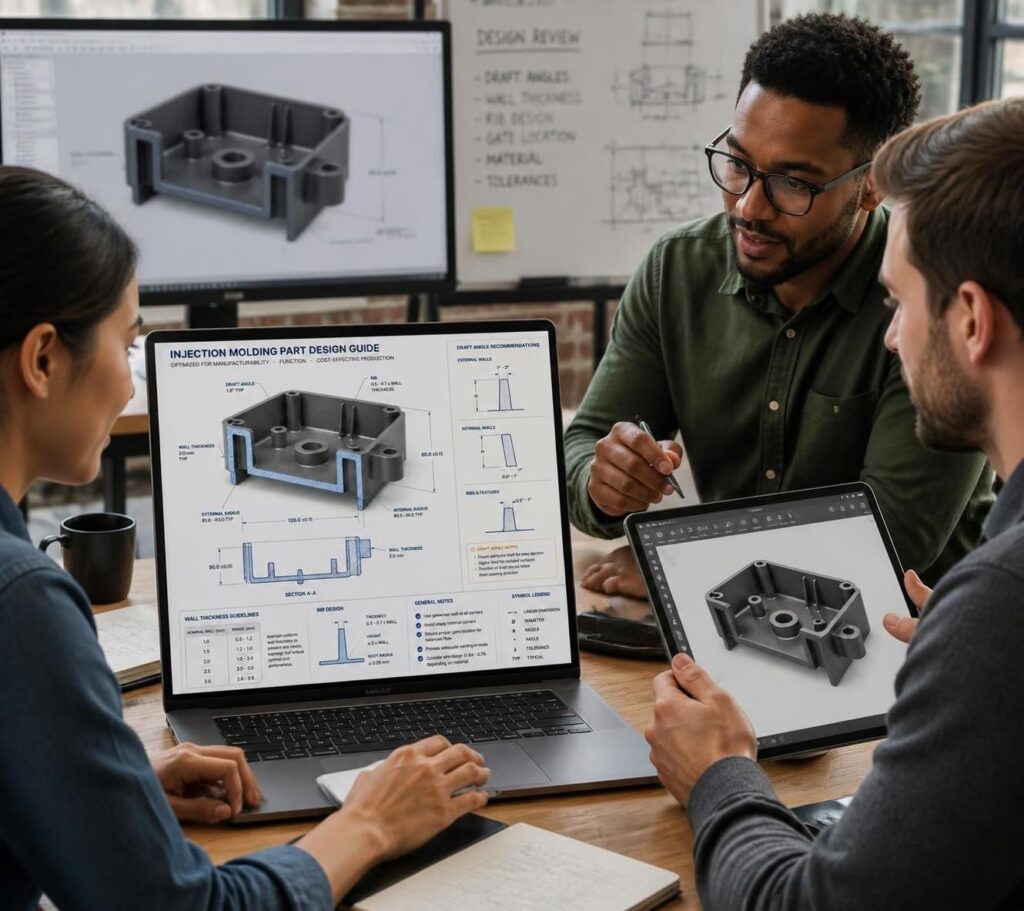
How Prototyping Improves Results
Advanced CAD software speeds up prototyping by making changes easy. Instead of rebuilding a design from scratch, teams can update dimensions, test options, and compare versions quickly.
This is especially useful when paired with 3D printing. Designers can turn a digital model into a physical part, then test how it feels, fits, and functions before full production starts. That feedback helps improve the final product and reduces launch risk.
Tolerances and Material Selection
Tolerances tell manufacturers how much variation is acceptable. Without them, parts may not fit or function correctly.
Material choice matters just as much. A strong part may need aluminum or reinforced plastic, while a lighter part may use a lower-cost material. The right choice depends on load, heat, appearance, and production method.
Good CAD drawings include both tolerances and material notes so the manufacturer knows exactly what to build. That improves consistency, quality, and cost control.