Choosing Between Virtual and Physical Prototyping
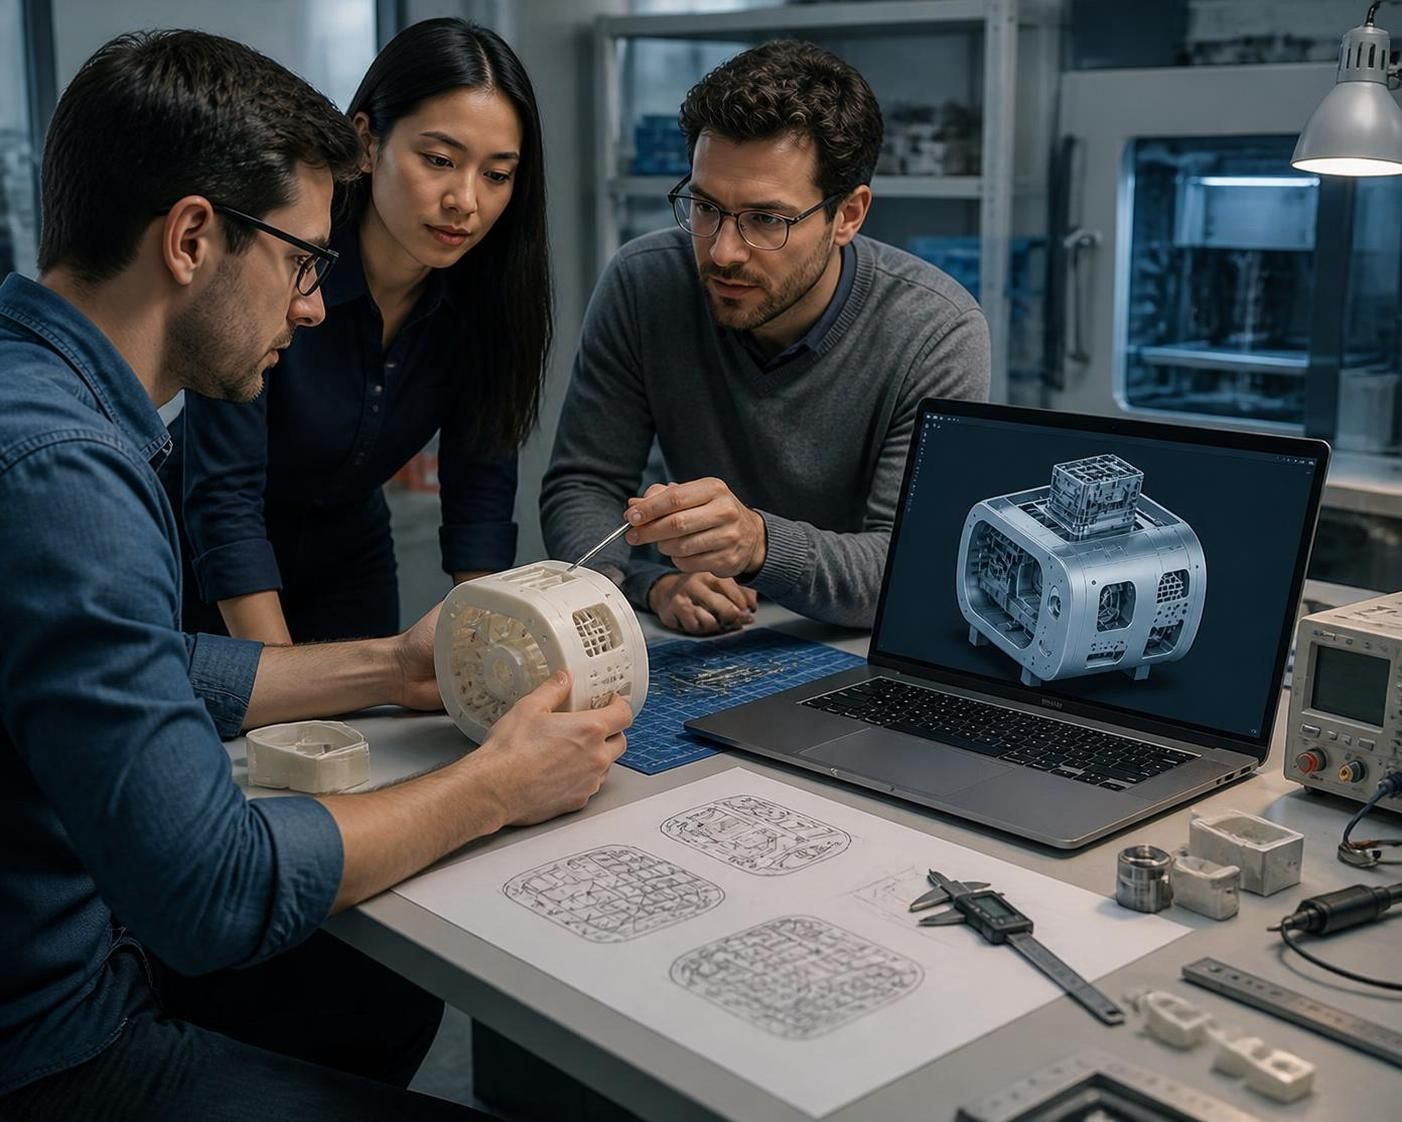
Choose virtual prototyping when you need fast, affordable design changes and complex testing. Choose physical prototyping when you need hands-on feedback about size, comfort, appearance, or real-world performance. In many projects, the best solution is to use both methods at different stages.
What Is Virtual Prototyping?
Virtual prototyping uses CAD software, 3D modeling, digital twins, and simulation tools to test a product before manufacturing. Designers can change dimensions, materials, and features without rebuilding a physical model.
This approach works well for products with complex parts or strict performance requirements. Automotive, aerospace, engineering, and industrial design teams often use virtual models to test airflow, strength, movement, and assembly.
The biggest advantage is speed. Teams can review several design options in a short time and make changes without ordering new materials or waiting for production.
Virtual prototyping can also reduce early development costs. It limits the need for raw materials, machine time, shipping, and labor during the first design stages.
Other benefits include:
- Testing extreme conditions through computer simulations
- Sharing designs with remote teams and clients
- Identifying design problems before production
- Comparing multiple product versions quickly
- Improving collaboration between engineering and design teams
However, a virtual model cannot fully replace physical interaction. It may not reveal how a product feels in the hand, fits the body, sounds during use, or performs in an unpredictable environment.
What Is Physical Prototyping?
Physical prototyping creates a tangible version of a product for testing and evaluation. Common production methods include 3D printing, CNC machining, foam modeling, injection molding, and handcrafting.
A physical prototype helps teams understand the product from a user’s point of view. Designers can test grip, weight, comfort, controls, accessibility, and visual appeal before final production.
This method is especially useful for consumer products, medical devices, furniture, packaging, tools, and wearable technology. It gives stakeholders something they can touch, operate, and discuss.
Physical prototypes also support practical testing. Engineers can examine how parts fit together, how materials respond to stress, and whether a product works as intended outside a digital environment.
The main drawbacks are time and cost. Each design change may require new materials, manufacturing work, and testing. Multiple physical versions can quickly increase the project budget.
Virtual vs. Physical Prototyping: Which Should You Choose?
The right choice depends on your product, budget, schedule, and testing goals. Use virtual prototyping first when the design is complex, the product requires detailed simulations, or you need to explore many concepts quickly.
Choose physical prototyping earlier when user interaction is central to the product. For example, a medical device may need hands-on usability testing, while a chair requires testing for comfort and support.
Consider these factors:
- Cost: Virtual models usually cost less during early design.
- Speed: Virtual changes can be made quickly.
- User feedback: Physical prototypes provide more realistic feedback.
- Complexity: Virtual tools are useful for complex systems and simulations.
- Materials: Physical prototypes show how real materials look and behave.
- Risk: Combining both methods can reveal more problems before production.
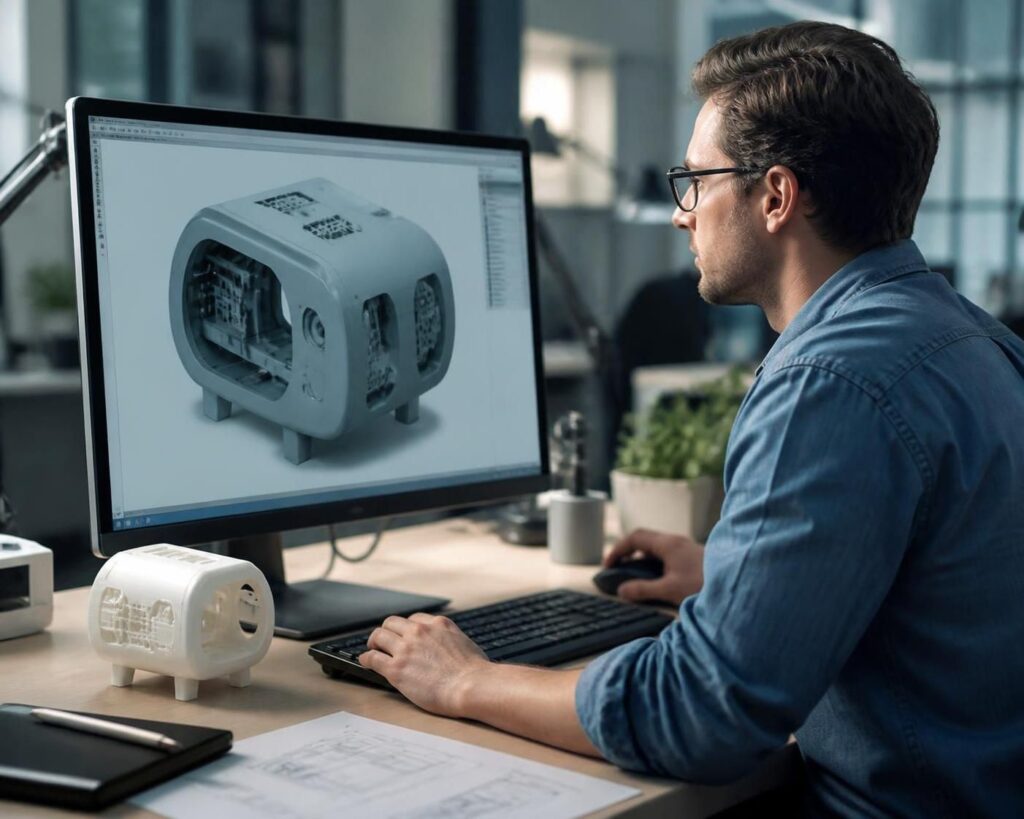
A Simple Prototyping Workflow
Follow this process to choose and apply the best method:
- Define the main testing goal. Decide whether you need to test appearance, function, comfort, strength, ormanufacturability.
- Build a virtual prototype. Create a digital model to explore dimensions, features, materials, and possibledesign problems.
- Run digital simulations. Test movement, stress, airflow, temperature, or other conditions that matter to theproduct.
- Create a physical prototype. Build a realistic model once the basic design meets your requirements.
- Test with users and stakeholders. Collect feedback about usability, comfort, appearance, andperformance.
- Update the design. Apply the findings to the digital model, then create another physical version if needed.
- Prepare for production. Confirm the design, materials, manufacturing process, and quality requirements.
Why a Combined Approach Works Best
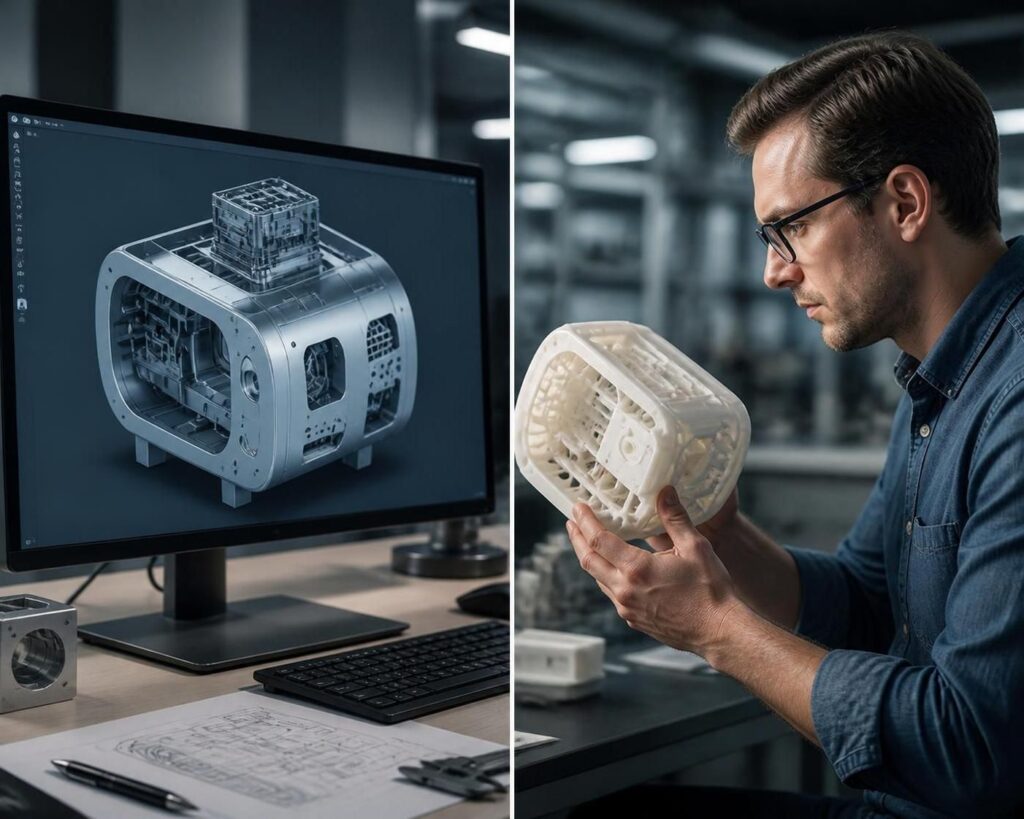
Virtual and physical prototyping are not competing methods. They solve different problems and are often most effective when used together.
A virtual prototype can help your team make fast design decisions and reduce unnecessary manufacturing costs. A physical prototype can then confirm whether the product works in real conditions and meets user expectations.
This combined process can reduce development risk, improve product quality, and support a smoother transition to manufacturing. It also helps teams make informed decisions before committing to expensive production tools.