budget-friendly rapid prototyping services for students
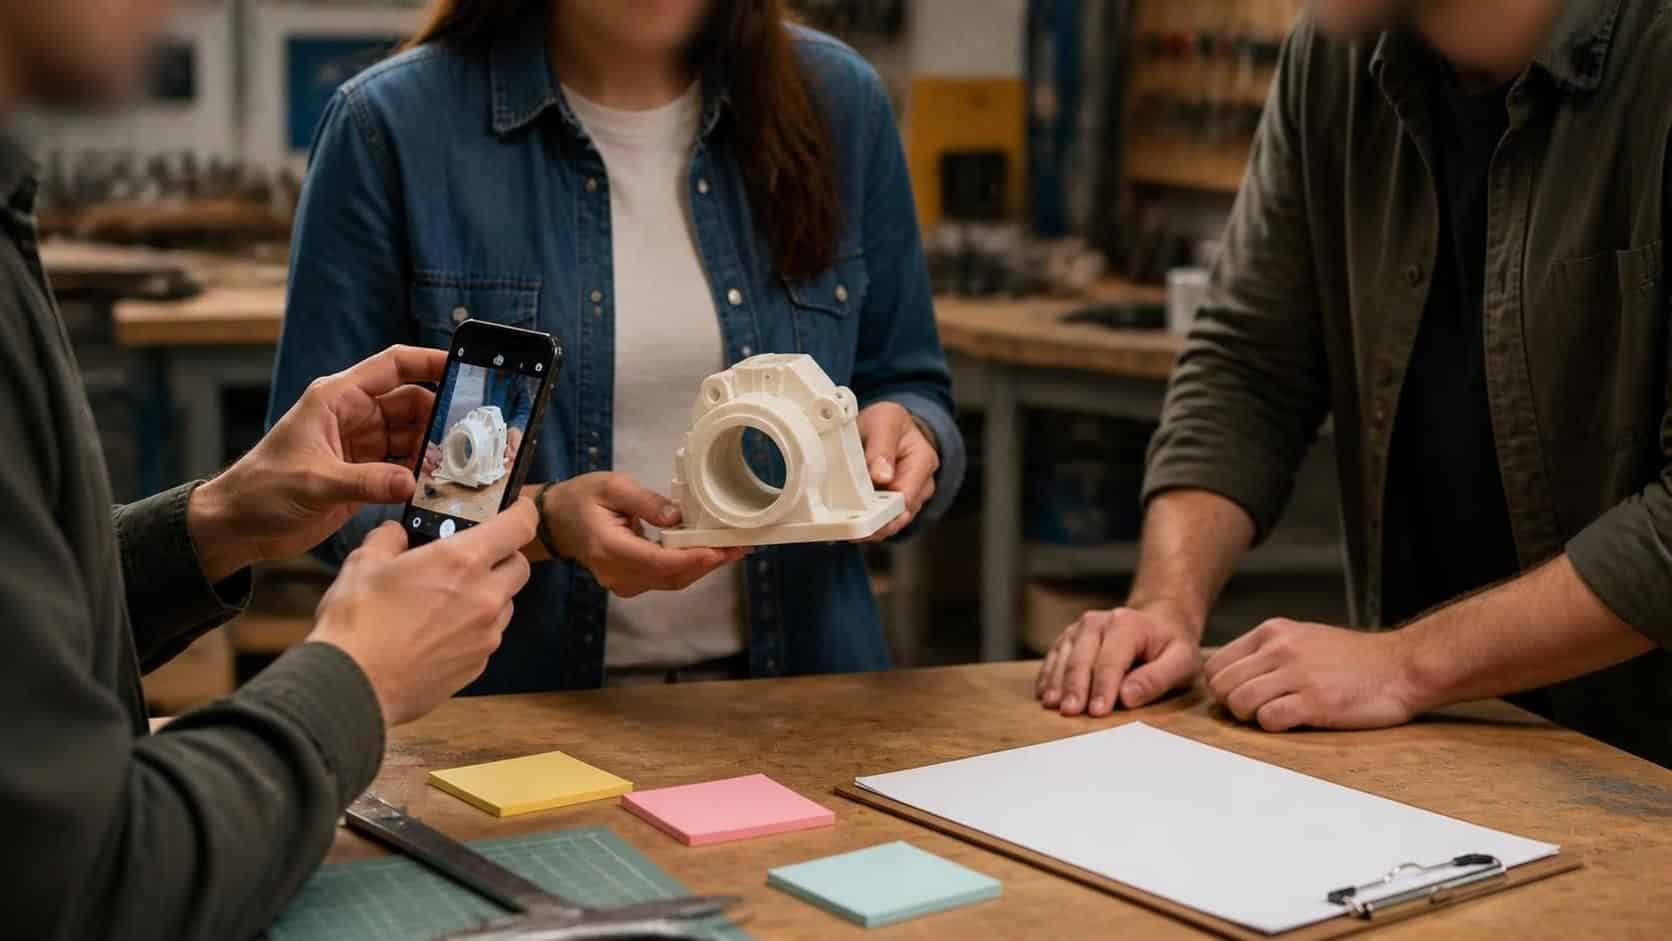
Budget-friendly rapid prototyping services for students help you turn CAD files into real prototypes quickly, without blowing your budget. The main goal is simple: test your idea, learn from it, and improve it with each new iteration. Rapid prototyping also helps you build real skills. You practice design choices, problem-solving, and team communication while working toward a finished project.
Why Rapid Prototyping Matters for Students
Rapid prototyping lets you learn by doing. Instead of guessing, you can hold a model, check it, and fix what’s not working.
It also supports teamwork across disciplines. Engineering students, designers, and makers can share one prototype and move together faster.
Most importantly, fast iteration builds confidence. Each prototype becomes feedback, not a dead end.
What “Budget-Friendly” Should Include
Not all cheap services are equally helpful. Look for budget-friendly rapid prototyping services for students that still deliver good quality and clear communication.
When you compare providers, focus on these basics:
- Material options that match your project needs
- Print or machining quality (surface finish, strength, tolerances)
- Reliable turnaround times (including rush options)
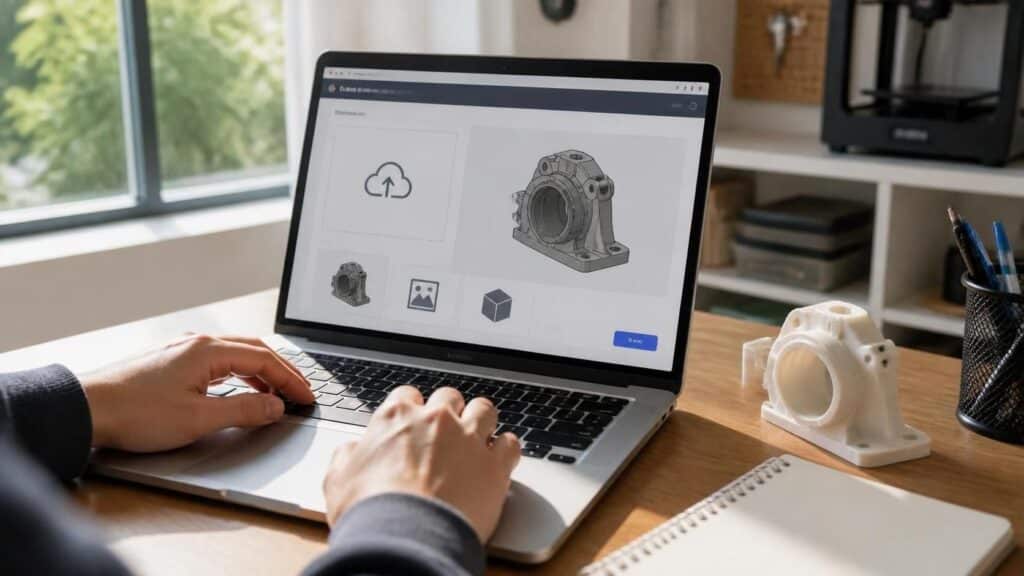
- Simple uploading and quoting (instant estimates are a plus)
- Helpful customer support if something goes wrong
For a clear overview of common additive manufacturing options, use this guide from Stratasys:
https://www.stratasys.com/resources/blog/3d-printing
Simple Step-by-Step Workflow (Get a Prototype Without Stress)
Use this workflow to go from idea to prototype in a few clear steps.
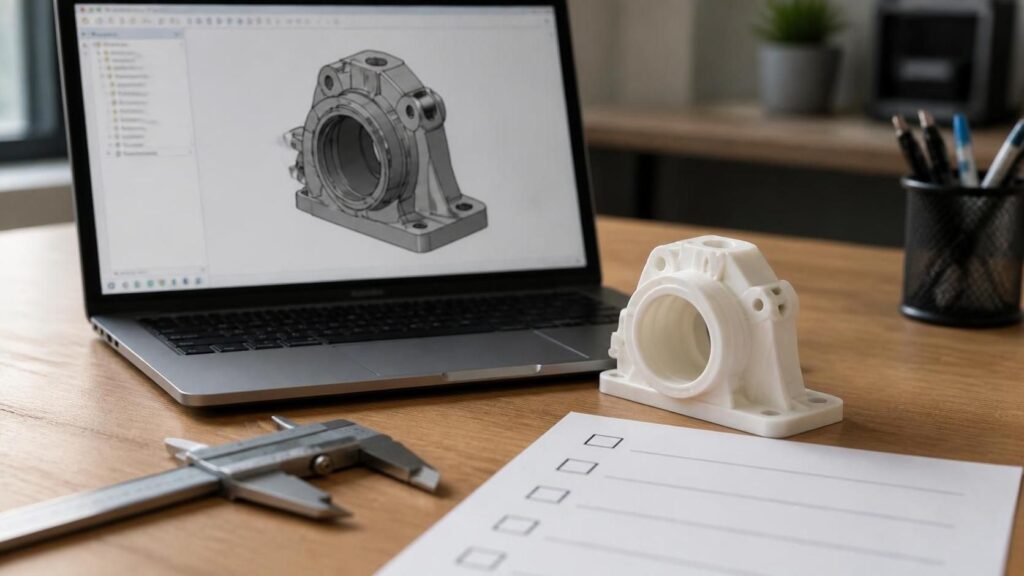
Create your CAD model
Use a basic CAD tool to make the part and double-check key dimensions.Export the right file format
Most services accept common formats like STL or 3MF. Choose what the provider requests.Choose the best process for your goal
- 3D printing: best for quick shapes and test fit
- CNC or other methods: best when you need certain materials or tighter details
Pick the material based on real testing
Use a tougher material for functional tests, and a faster/cheaper material for early mockups.Order a first prototype as an “iteration test”
Don’t aim for perfection on the first try. Aim for fast learning.Review results and plan your second version
Measure what changed, update your CAD, and reorder with the improvements.
If you want a strong, student-friendly look at prototyping and model testing, this introduction from Autodesk canhelp with the mindset and tools:
https://www.autodesk.com/solutions/3d-design
How to Choose the Right Service (Quick Checklist)
Before you click “order,” match the service to your project. The right provider can save days and help you avoid reprints.
Use this checklist:
- Technology fit: Does it support 3D printing or other methods you need?
- Quality: Are you getting the resolution and finish you expect?
- Materials: Can you choose a material for strength, flexibility, or appearance?
- Lead time: Can they deliver before your deadline?
- Cost clarity: Are the quotes easy to understand?
- Support: Do they help if your file needs repair?
When you’re choosing between methods, MakerBot’s beginner guide is a good starting point for understandingthe basics of 3D printing technology:
https://www.makerbot.com/blog/3d-printing-basics
Tips to Get the Most Value From Each Prototype
Budget-friendly rapid prototyping services for students work best when you plan smart.
- Prototype in stages: start with a simple version, then upgrade details.
- Add test features: include mounts, screw holes, or alignment parts early.
- Avoid overbuilding: don’t print extra parts if you only need a fit check.
- Document changes: write what you learned from each test.
- Use feedback fast: ask teammates to review within 24–48 hours when possible.
Small changes in your CAD can reduce failures and lower repeat costs.