Affordable 3D Renderings for Product Prototyping and Concept Design
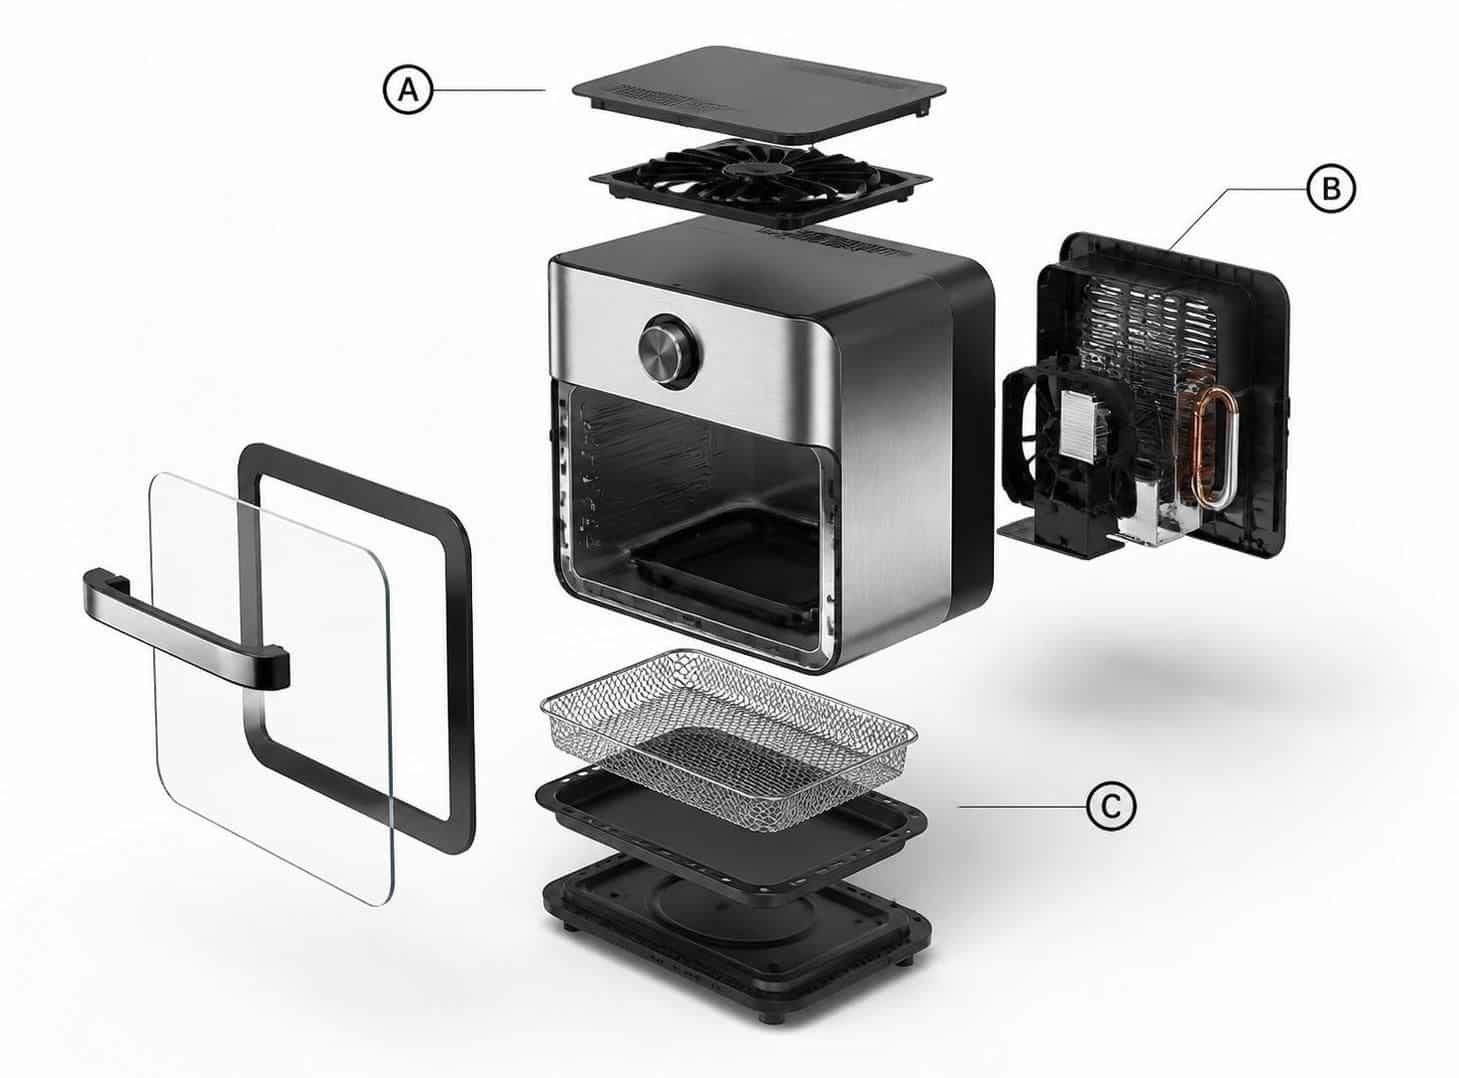
Affordable 3D renderings let you visualize and test product ideas fast, without paying for many physical prototypes. If you want quicker concept design and lower costs, this is one of the simplest upgrades you can make to your product workflow.
Why affordable 3D renderings work for prototyping and concept design
3D renderings turn your design idea into a realistic product image people can understand right away. That helps you spot issues early, share clearer feedback, and make smarter decisions before you build anything.
They’re also flexible, because you can update the digital model without restarting from scratch. This means more design iterations in less time, which often leads to a better final product.
The main benefits you get (and why they save money)
When you use affordable 3D renderings, you reduce guesswork and costly rework later. You also speed up approvals between teams, since everyone sees the same visual.
Key benefits include:
- Cost-effective visualization without repeated physical prototypes
- Faster design iteration when you need changes quickly
- More accurate design checks before manufacturing
- Better collaboration between design, engineering, and marketing
- Stronger marketing assets you can use before the first prototype
When to use 3D renderings in a product timeline
Use renderings when you need clarity early—before production makes changes expensive. They fit well during concept exploration, design refinement, and pre-launch marketing.
Common moments include:
- Early concept comparisons (A vs. B designs)
- Customer or stakeholder reviews
- Packaging and branding alignment
- Trade show or sales previews
- Pre-production “look and feel” approval
Step-by-step workflow to get affordable 3D renderings (simple and actionable)
Use this workflow to get fast results and avoid delays.
- Collect your inputs Share CAD files (if you have them), sketches, dimensions, and reference photos.
- Write a clear brief Include the product purpose, target market, key features, and what “done” looks like.
- Choose the deliverables Decide what you need: angles, exploded views, lifestyle scenes, or marketingrenders.
- Set a timeline Pick your review dates and how many rounds of edits you want.
- Review using a checklist Look for proportions, materials, branding placement, and lighting consistency.
- Approve and reuse Reuse the best renders for concept decks, sales pages, and launch campaigns.
If you keep the brief clear and set deadlines early, you’ll usually get faster turnaround and fewer revision cycles.
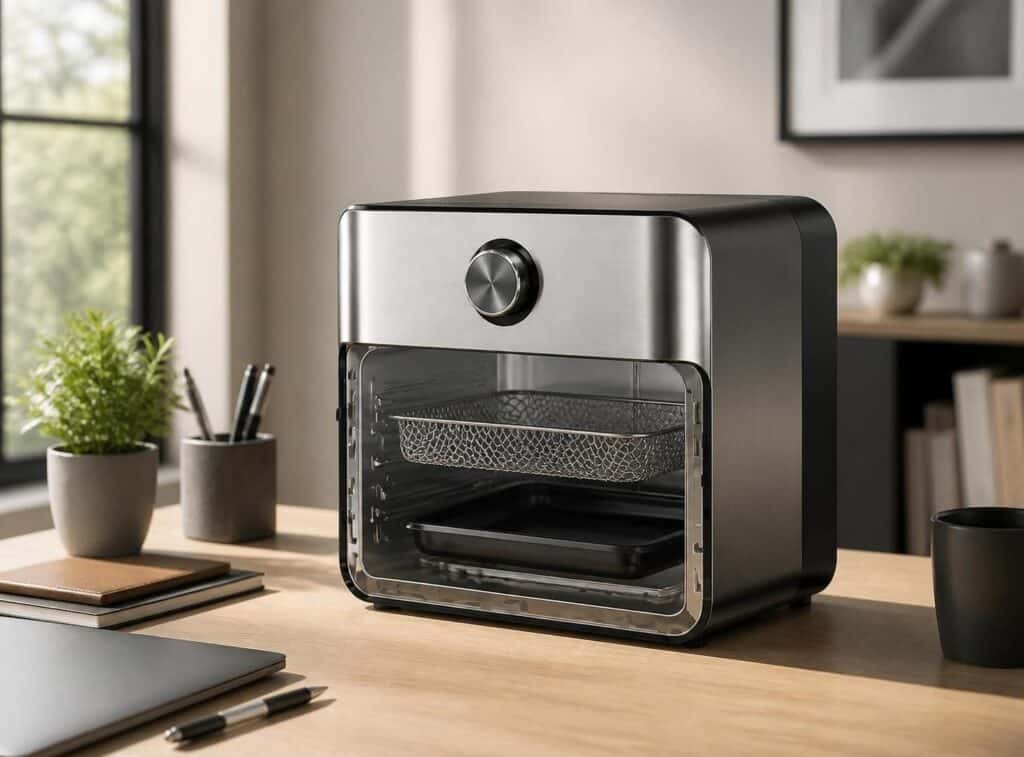
How to choose a 3D rendering service for your budget
Not every provider will fit your needs. The best choice balances quality, speed, and communication.
When comparing services, look for:
- Clear pricing for the style you need (product shots vs. lifestyle scenes)
- Portfolio examples similar to your product category
- A simple revision process (and how many rounds are included)
- File handling (CAD imports, texture/material workflows)
- Delivery formats that match your marketing needs (web, print, presentations)
A useful baseline is to review common render pipeline concepts and deliverable types from trusted sources like Blender and Autodesk documentation:
- Blender documentation for rendering basics: Blender Rendering Docs
- Autodesk support resources for design-to-render workflows: Autodesk Help Center
Make your renderings more valuable (not just “pretty”)
The biggest mistake is treating renderings like a final image instead of a decision tool. Use them to drive real choices.
To maximize value:
- Ask for renders that support specific decisions (fit, look, materials, finishes)
- Request multiple angles so teams can review details quickly
- Use consistent lighting and backgrounds for easier comparisons
- Plan to reuse final images across your pitch deck, website, and ads
This way, you get more than visuals—you get faster alignment.
The future: why costs should keep dropping
3D rendering tools keep improving, and workflows are becoming easier. That makes “affordable” more realistic for smaller teams, and it helps deliver higher-quality results with less effort.
If you want a longer-term path, consider scalable deliverables like animation-ready models and AR/VR-friendly assets. Even simple improvements can help you keep production costs down later.